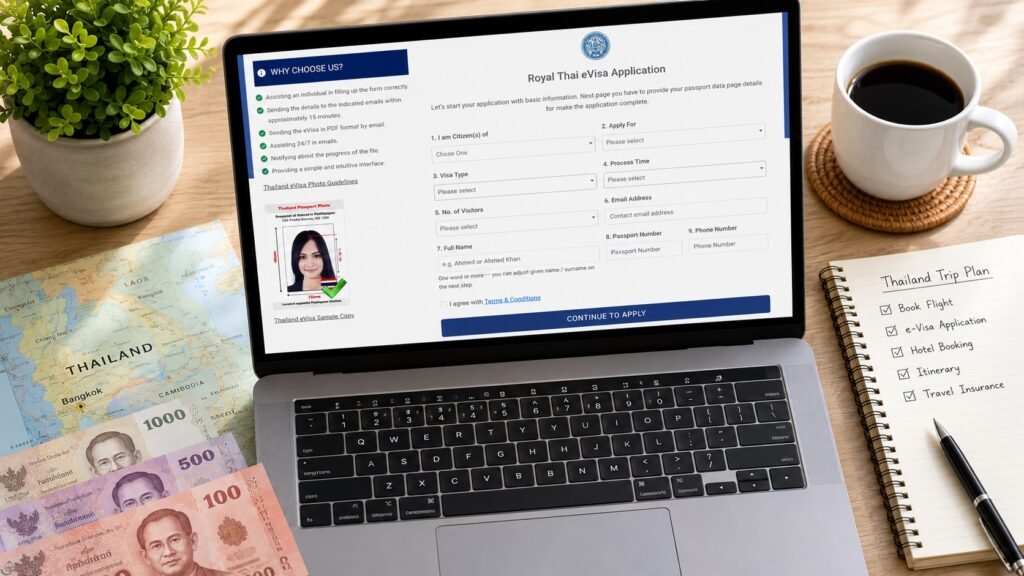
The fastest way to overspend on a Thai e-Visa isn’t picking the wrong service. It’s making a mistake on your first application and having to pay again. Since e-Visa fees are non-refundable regardless of outcome, the cheapest path to Thailand isn’t just about which price tag you pick, it’s about getting the application right the first time.
Here’s how the pricing actually breaks down, and how to make sure you’re not paying more than you need to.
What a Thai e-Visa Actually Costs
Royal Thai Embassy processes Thai e-Visa applications at two pricing tiers:
| Processing Type | Total Cost (USD) | Typical Timeline |
|---|---|---|
| Regular Processing | $74 | 3–5 working days |
| Urgent Processing | $99 | Under 3 working days |
Both tiers cover the same thing: application review, document handling, and submission. The difference is speed. If your travel dates give you a comfortable window, regular processing is the cheaper option and there’s no reason to pay for urgent handling you don’t need. Full details on what’s included in each tier are on our processing time and fees page.
Whether you need a Single Entry e-Visa (SEV) or a Multiple Entry e-Visa (MEV) also affects your total cost and how long your visa stays valid. If you’re only making one trip, the single-entry option is the more economical choice. If you’re planning multiple trips in and out of Thailand within a 6-month window, the multiple-entry visa works out cheaper than applying twice. Our e-Visa cost breakdown walks through both in detail.
Why “Cheapest” Isn’t Just About the Sticker Price
A lot of travelers assume the cheapest e-Visa is whichever number is lowest on a page. In practice, three things drive your real cost more than the base fee does:
Getting the application right the first time. Since visa fees aren’t refunded if an application is rejected, the single biggest way to overpay is submitting a second application because the first one had an error. A photo that doesn’t meet spec, a document that’s the wrong format, or a mismatched detail between your passport and your form can all trigger a rejection.
Choosing the correct visa type for your trip. Applying for a single-entry visa when your itinerary actually requires two entries means paying for a second application later. Check your full itinerary against the visa type breakdown before you submit.
Timing your application correctly. Paying for urgent processing because you waited too long to apply is an avoidable cost. If you check our processing time guidance and apply with enough lead time, regular processing is almost always sufficient.
How to Avoid the Most Common (and Costly) Mistakes
Check your photo before you upload it. Photo formatting is one of the most common rejection triggers. Specs like background color, framing, and file format all matter more than people expect. Our photo requirements guide covers exactly what’s needed so you don’t have to guess.
Confirm your document list before you start. Missing or mismatched documents are the other major cause of delays and rejections. Review the full document checklist so you’re not scrambling mid-application.
Check your passport validity early. Most e-Visa applications require at least six months of passport validity remaining from your arrival date. If your passport is close to that line, renewing before you apply is cheaper than dealing with a rejected application at the last minute.
Apply with enough lead time. Standard processing runs 3–5 working days. Applying only a few days before your flight forces you into the urgent tier by default, not because your situation required it, but because the timeline did.
Regular vs. Urgent: Which One Is Actually Cheaper for You
It depends entirely on when you’re traveling, not on which option sounds better.
If your trip is more than a week out, regular processing covers you comfortably and there’s no reason to spend more. If your flight is inside that window, urgent processing isn’t really an upsell, it’s the only tier that reliably fits your timeline, and paying for it is cheaper than the alternative of missing your travel date entirely.
The way to keep this decision cheap is simple: apply as soon as you know your travel dates, not the week before. That single habit is what determines which tier you actually need.
A Quick Checklist Before You Apply
- Confirm which visa type matches your itinerary (single vs. multiple entry)
- Check your passport has at least 6 months of validity remaining
- Prepare your photo to the correct specifications
- Gather all required supporting documents in advance
- Apply with enough lead time to use regular processing
- Double-check every field before submitting, since fees aren’t refunded on rejection
FAQ
What’s the cheapest way to get a Thai e-Visa? Apply for the correct visa type for your trip, use regular processing by applying early, and make sure your documents and photo are correct the first time. Since fees are non-refundable, avoiding a second application is the biggest cost saver.
Is urgent processing worth the extra cost? Only if your travel date genuinely requires it. If you have more than a week before your trip, regular processing covers you at a lower cost with no difference in what’s included.
What happens if my application is rejected? The fee isn’t refunded, and you’ll need to submit a new application (and pay again) to fix the issue. This is why checking documents and photos carefully before submitting matters more than which pricing tier you choose.
Do I need a different visa if I’m traveling to Thailand more than once? Yes. A single-entry e-Visa only covers one entry. If your trip includes multiple entries into Thailand, a multiple-entry visa is usually the more cost-effective option compared to applying twice.
How far in advance should I apply to avoid paying for urgent processing? Since regular processing takes 3–5 working days, applying at least two to three weeks before your trip gives you a comfortable buffer without needing the urgent tier.
Pricing and processing times reflect current rates at the time of publishing and are subject to change. See our processing time and fees page for the latest figures before applying.
Apply for your Thai e-Visa now or review the full document checklist before you start.