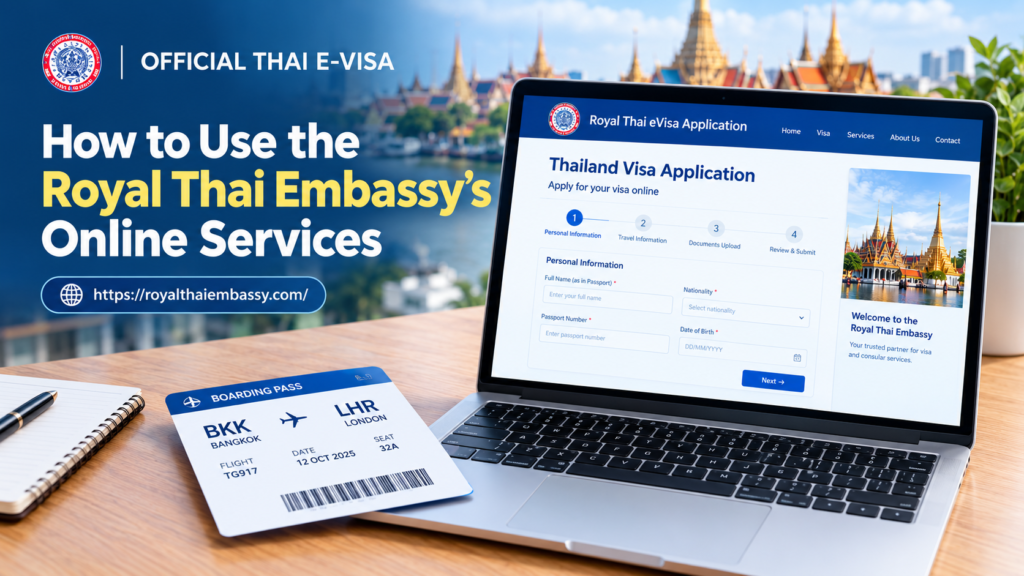
A few years ago, applying for a Thai visa meant taking a day off work, printing a stack of forms, and standing in line outside an embassy or consulate. If you got a form wrong or forgot a document, you went home and started again the next day.
That’s mostly gone now. Thailand has moved almost all of its visa processing online, and most travelers can handle the entire application from their phone or laptop without ever visiting a physical office. But “online” doesn’t always mean “simple.” The eVisa system has its own rules, its own document formats, and its own timing quirks that trip people up every week.
This guide walks through exactly how the online process works, what to prepare before you start, and where people usually go wrong.
Official Thai e-Visa Portal: https://application.royalthaiembassy.com/
What “Online Services” Actually Covers
When people say Royal Thai Embassy online services, they’re usually talking about a handful of things:
The Thai eVisa application itself, which covers tourist visas, business visas, and several other categories depending on your passport and travel plans. Visa status checks, so you can see where your application stands without emailing anyone. Fee payment, since almost every eVisa route now uses card payment through the portal rather than a bank transfer or in-person cashier. And document upload, where you submit scanned copies of your passport, photo, and supporting paperwork instead of mailing originals.
Some nationalities still need to deal with a physical consulate for certain visa types (long-stay non-immigrant visas, for example, often still involve an in-person or courier step). But for tourist and short business visas, the online route is now the standard path, not a shortcut.
If you’re not sure which category applies to you, our Thai e-Visa requirements and document checklist breaks down the categories by purpose of travel.
Before You Start: What You Need on Hand
The single biggest reason applications stall isn’t the website. It’s people starting the application before they have everything ready. Have these on hand first:
A passport with at least six months of validity left from your entry date, not your application date. This catches people constantly. If your passport expires in five months and you’re planning a trip in three, you’re probably fine to apply, but check the exact rule for your visa type since some categories want more buffer.
A digital passport photo, usually a recent one against a plain background, sized to the portal’s specifications. Phone photos often get rejected for shadows or bad cropping, so a proper photo booth or printed passport photo scanned in tends to pass review faster.
Proof of accommodation, like a hotel booking confirmation or an invitation letter if you’re staying with someone. Proof of onward or return travel, meaning a flight booking out of Thailand, not just the one getting you in. And proof of funds, which for most tourist applications means a recent bank statement showing you can cover your stay.
If you’re applying for a business or work-related visa, add a letter from your employer or the Thai company you’re visiting, plus any supporting registration documents they can provide.
Scan everything as PDF or JPG before you open the application. Trying to photograph documents mid-application, with a form half-filled and a countdown timer running in your head, is how people make mistakes.
Step-by-Step: Applying Through the Online Portal
Once your documents are ready, the actual application follows a fairly predictable sequence.
Select your visa type and entry details. This is where accuracy matters more than speed. Choose the wrong visa category and you’ll either get rejected outright or approved for something that doesn’t match your actual trip. If you’re going to Thailand for tourism but list “business” because you’re vaguely combining a work trip with sightseeing, that mismatch can cause problems at immigration even if your online application gets approved.
Fill in personal and travel details. Name, passport number, dates of travel, and address in Thailand. Double check that your name matches your passport exactly, including middle names. A missing middle name or a typo in a passport number is one of the most common reasons applications get sent back for correction, which adds days you might not have.
Upload your documents. Each field usually specifies file type and size limits. If a document doesn’t upload, it’s often because the file is too large or in the wrong format, not because something is wrong with the document itself. Compress large PDFs before uploading rather than trying five times and assuming the system is broken.
Pay the visa fee. Payment is typically by credit or debit card through a secure gateway. Save your payment confirmation separately from the application confirmation. If a payment fails partway through, you want proof of what happened before you contact support.
Submit and save your reference number. After submission, you’ll get an application or reference number. Write it down somewhere outside the portal, not just in a browser tab you might close. You’ll need it to check status later, and if you lose it, recovering it usually means digging through old emails.
For current fee amounts by visa category, check our Thai e-Visa fees guide before you pay, since rates vary by nationality and visa type and change periodically.
Checking Your Application Status
Once submitted, most applicants want to know one thing: is it moving.
Log back into your account using the same credentials you registered with. Your dashboard should show a status, usually something like “under review,” “additional documents requested,” or “approved.” If it says additional documents are needed, respond quickly. Applications that sit with a pending document request for too long can be closed automatically, forcing you to start over.
Processing times vary by visa type and by how busy the system is during peak travel seasons. Applying close to a holiday period like Songkran or the December-January travel rush usually means slower turnaround, simply because volume goes up. Our visa processing time guide has more specific ranges by category if you’re trying to plan around a departure date.
A practical tip: don’t book non-refundable flights until your visa is approved, especially if you’re applying close to your travel date. It’s a small extra cost to hold flexible bookings, but it’s much smaller than the cost of a denied visa and a locked-in ticket.
Common Mistakes That Slow Things Down
A few patterns show up again and again with online visa applications, and most are avoidable.
Mismatched names across documents. If your passport says “Mohammed Abdul Rahman” and your flight booking says “Mohammed A. Rahman,” that inconsistency can raise a flag during review. Keep names identical across every document you submit.
Blurry or cropped document scans. Reviewers can’t approve what they can’t read clearly. A slightly larger file with better resolution beats a smaller, blurrier one every time.
Applying too early or too late. Most eVisa systems have a window, often something like 90 days before travel, and applying outside that window either gets rejected or sits unprocessed. Applying too late, meanwhile, leaves no room for a correction request to be resolved before your flight.
Ignoring the confirmation email. Some applicants submit their form, see a “success” message, and stop checking their inbox. But the confirmation email often contains next steps, and if it goes to spam, you might miss something important without realizing it.
Using someone else’s account or shared login. Each application should be tied to the actual traveler’s information. Filling out a form for your spouse under your own account, then trying to submit a second one for yourself, sometimes trips duplicate-detection systems and causes delays.
When to Get Help Instead of Troubleshooting Alone
Most straightforward tourist applications go through without any human intervention needed. But certain situations are worth getting a second set of eyes on before you submit:
If your passport has a name change from a previous document, like after marriage, and your supporting paperwork doesn’t clearly explain that. If you’ve had a visa rejected before and you’re reapplying, since the reasons for the earlier rejection need to be addressed directly, not just resubmitted with the same information. Or if you’re applying for a visa type outside the standard tourist category, where document requirements are less standardized and mistakes are more common.
In these cases, it’s worth reviewing our full visa application guide or reaching out for guidance before you submit, rather than after you get a rejection notice and have to start the clock over.
Getting It Right the First Time
The online system is faster than the old paper process, but it rewards preparation more than speed. Applicants who scan their documents properly, double check names against passports, and apply within the right window rarely run into trouble. The ones who struggle are usually rushing, applying with incomplete documents, or assuming the system will catch their mistakes for them.
Give yourself a buffer before your travel date, keep copies of everything you submit, and treat the reference number you get at the end like something you’d need again, because you probably will.